In this tutorial, you'll learn how to install a third-party watch face on your WearOS watch (for instance a Galaxy Watch 4) from your computer or your phone.
Requirements :
- Your phone or your computer
- A WearOS smartwatch (the smartwatch used here is a Samsung Galaxy Watch4 Classic 46mm)
- An internet connection (not a cellular one) that is common to the phone/computer and watch.
- A watch face in the .apk format
Installing the watch face from a computer
First of all, you'll need to install ADB (platform tools) on your computer to make the connection between your watch and your phone working.
Once it's done, extract the zip file in a good, easy and accessible place (such as C:\platform-tools or in desktop for MacOS).
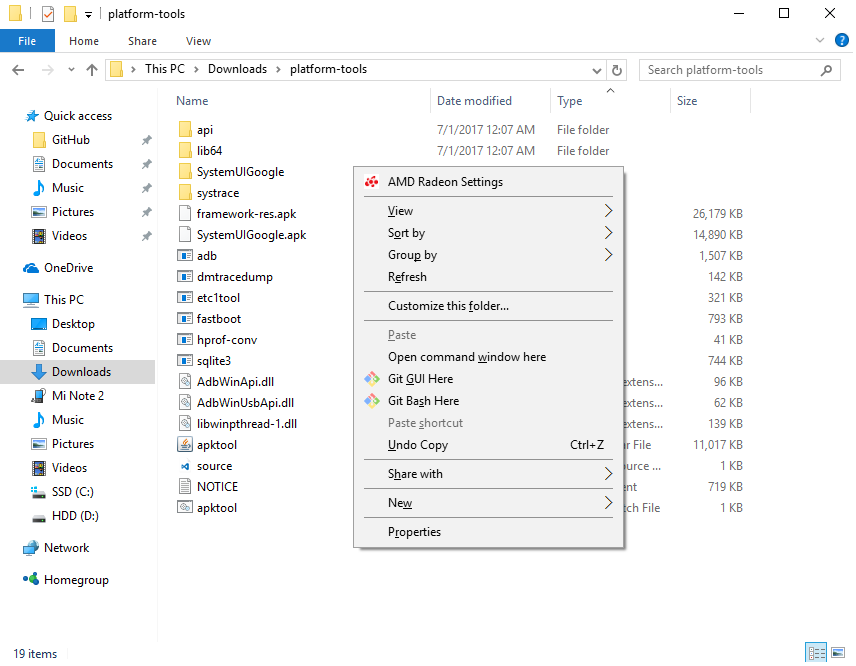
Now go to the folder, click Shift + Right Click on the file explorer and click on Open Command Window Here (some people may see Open PowerShell here, for MacOS, you'll have to open terminal and browse to the folder where you have extracted the zip file. If you extracted in the desktop, it'd be : cd /Users/Name/Desktop/platform-tools/

Shift + Right Click on Windows
Note: before the next step, if Developer options isn't enabled, you should go to settings>About Watch>Software>Click a few times on Software version until it indicates that Developer options is enabled.
Prepare your watch to be connected; go to settings, then developer options, and enable ADB debug, then enable Wi-Fi debug.
Now, you should see an IP address with a port above the Wi-FI debugging button (something like 192.168.1.18:5555). Well with this information, you have to go in the command prompt from your computer, you'll have to type ./adb connect 'ip address of your watch:port of your watch' (don't include the quotes), you should see on your watch a popup that asks you to allow debugging or not, you'll have to click on Allow, once it's done, you can install your watch face.
Put the watch face .apk file in the platform-tools folder (in order to make the transfer easy), once it's done, type ./adb install 'package.name' (don't include the quotes), and you should see these lines Performing Streamed Install
Success
Now you have your watch face installed on your watch !
Tell us what do you think about this tutorial :